With this project (end of 2010) I intended to support the 2 Visaton Aria in my surround system. After some considerations I came to the decision to use the driver TIW 300 – 8 Ohm of Visaton. There are two constructions, suggested by Visaton: TL-SUB 30 and SUB T-30.60. Let’s say, the Visaton SUB T-30.60 was the more reasonable alternative, thus it became the choosen one. After this final judjement I began to search for an adequate amplifier. With some help of the Visaton forum I found the RCM Detonation DT 80, an 80W (sine) class D amp.
Now you might think, “80W, isn’t this unsufficient?”. Well, I can assure it’s fairly enough. With a usual amperemeter I got 60W at maximum when watching a BluRay. And 60W sounds like an airplane flying through my room (14m²). Aside, this wasn’t even full volume.
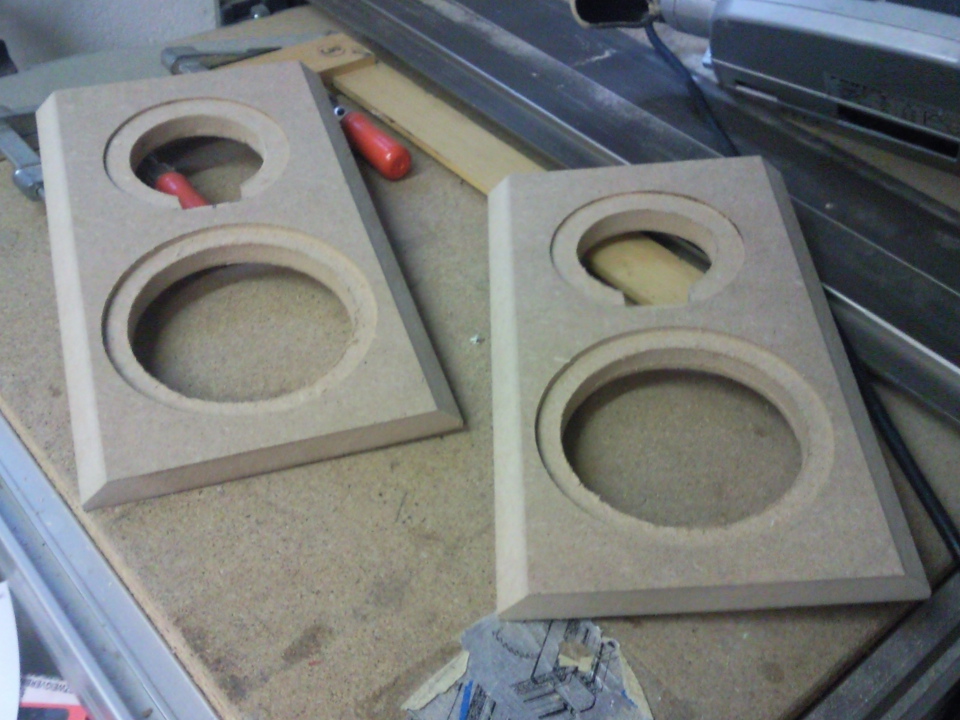
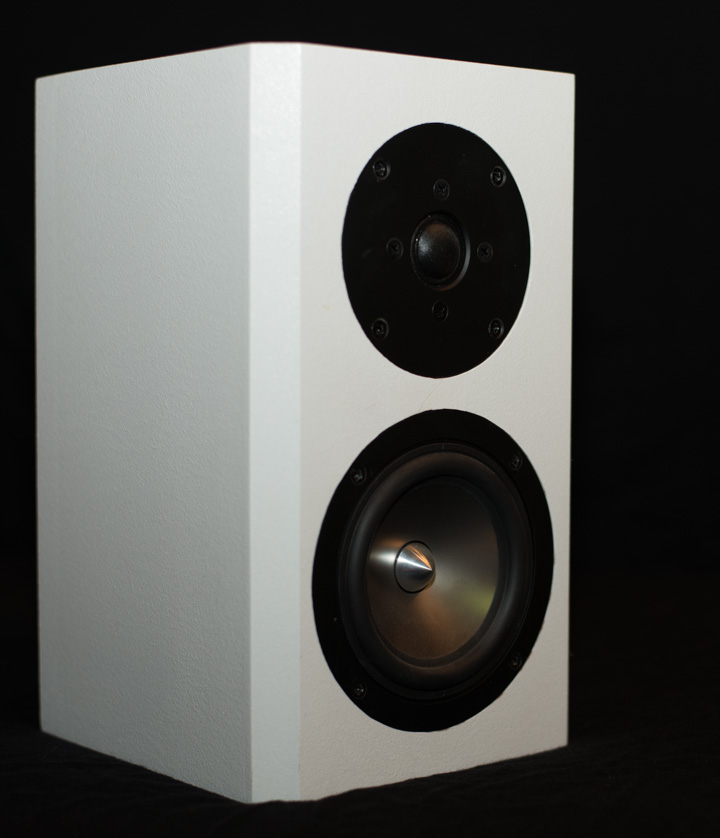
But now some information on how I assembled this speaker. As for the Visaton Aria I first prepared the acoustic baffle. The material was again MDF, but this time 19mm thick. This time painting was sourced out, because the result for the Aria was not fully satisfying. Nevertheless I’m proud to present the final result:
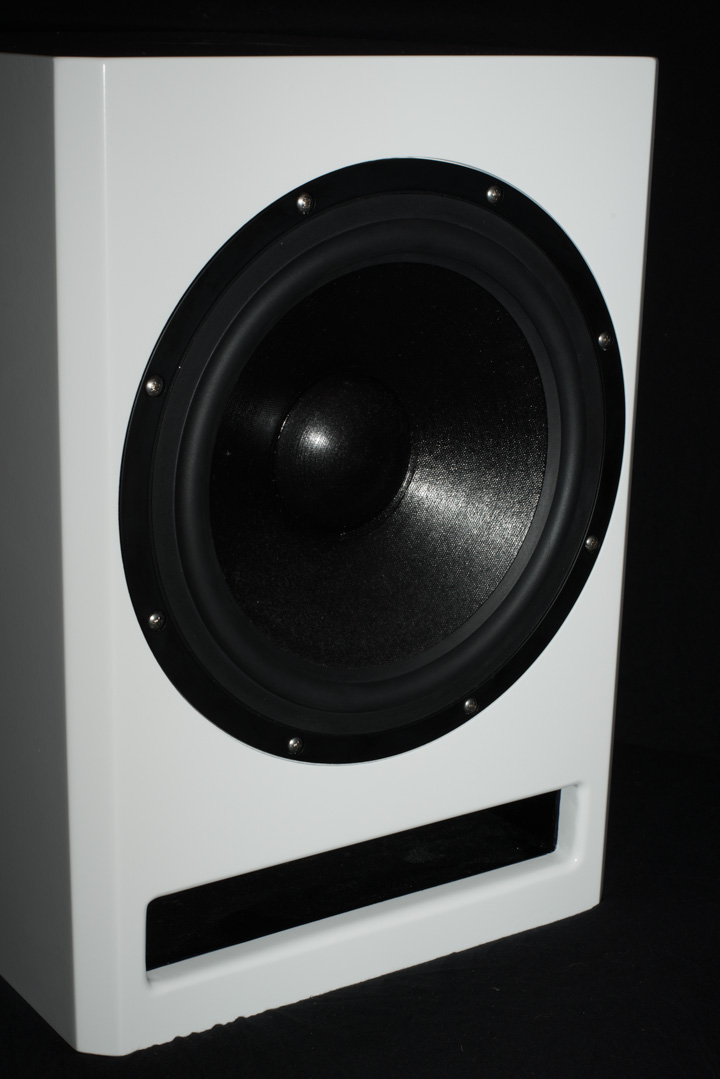
Visaton SUB T-30.60
Further information on this speaker can be found on the manufacturer’s website.